
- VVIVID Air-Tints are an industry first: a headlight/taillight tint with all of the technologies developed in VVIVID+ premium materials. They include an air-release membrane which allows you to install the tint dry ( without installation liquid ) Ready to use out of the box!
- This is the only film on the market that can wrap ANY SHAPE. It is super conformable with heat. It was originally manufactured for hard-to-wrap surfaces, but the ease of install has professionals saving time on any headlight shape.
- This film is also self healing and scratches will go away with heat! Simply cut the vinyl to shape, and apply it to the surface. To make the vinyl conform to curves, simply heat with a heat gun or hair dryer, stretch and apply. Lastly, using a sharp blade, trim away excess from the headlight and you're done! its literally that simple!
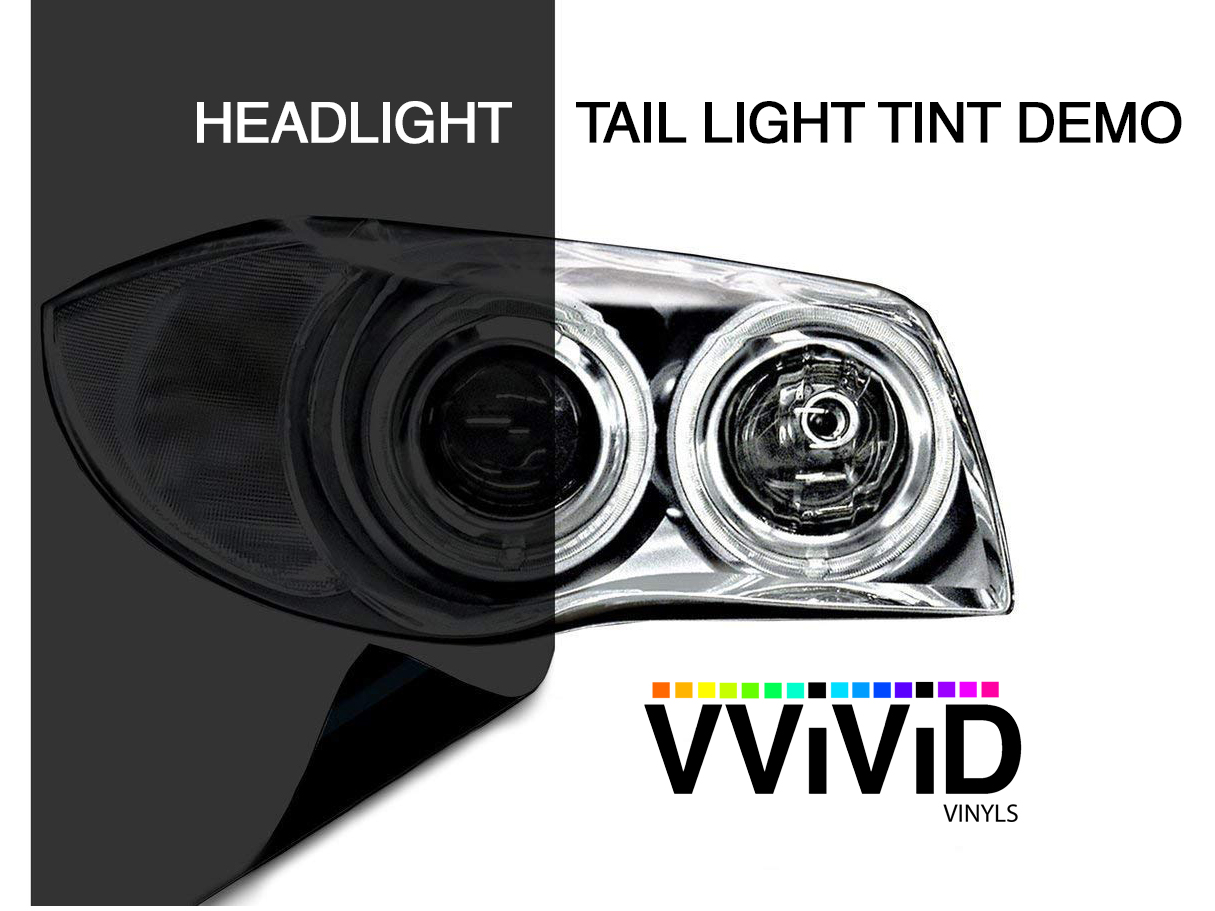
- Made with automotive grade cast vinyl, these tints are 80% tinted smoke or 20% VLT. The adhesive is acrylic based which will not eat through plastic like other tints on the market. It is 100% chemical safe, and will not eat through headlight coatings or damage your lights.
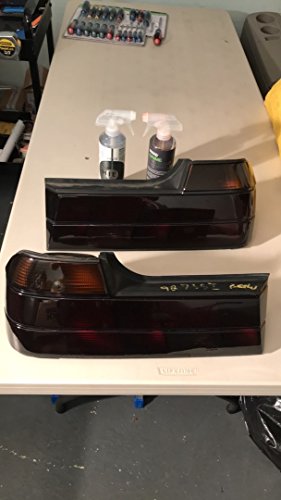
- Includes vinyl wrap tools: Blue Squeegee and 2x Anti-scratch Black Felt Edge Decal
-
Information
-
Twitter
-
Pinterest
-
Youtube
-
Facebook
Asifa Syeda
THANK YOU VVIVID FOR A QUALITY PRODUCT!
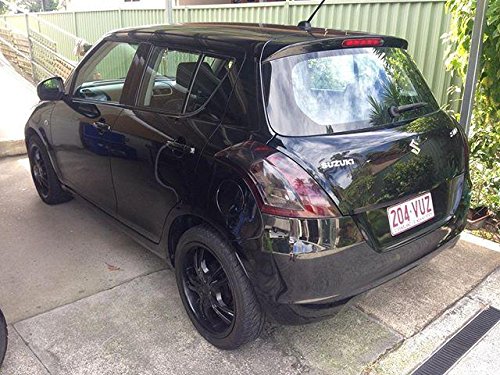
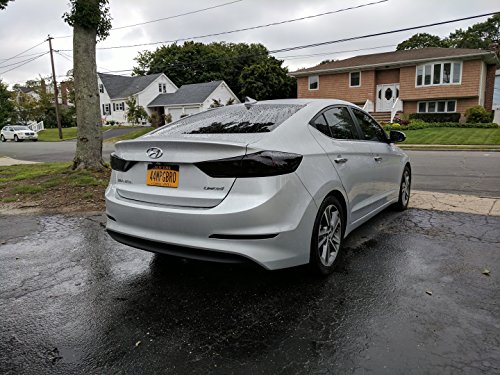
JUST MAKE SURE TO BUY EXTRA!! I've always wanted to tint my tail lights but never had the time to do so. After searching DIY videos on YouTube (HIGHLY RECOMMEND!) and browsing Amazon, Vvivid was highly praised so I gave it a go. Keep in mind I AM NOT SPONSORED by Vvivid but I can't praise the quality and ease of it to work with it compared to the cheap eBay "wet application" tint. Make sure to use a heat gun and be patient with trying to workout any wrinkles and be sure to stretch the film. I went through 8+ feet worth of vinyl before I got the hang of it due to my tail lights complicated curves and edges (see photo). Applying on flat surfaces is easy but getting to adhere to tight curves is tricky (heat, stretch, and use your finger!!). Once done, it was just the right shade I was looking for. Turned my bright red rear into a subtle dark cherry color which is exactly what I was looking for. Living in California, CHP and local PD has an eye out for "blacked out" tails. But I feel these are subtle enough to get away without drawing too much attention from PD but enough to make it stand out compared to OEM tail lights. I will try to update within a month to see how it holds up but so far so good. People who've given this bad reviews simply experienced user error. Stay persistent, be patient, and the final result will speak for itself.
Waji Faizy
Awesome Film
Extremely easy to apply, even on hard curves. Just have to take your time to avoid bubbles, and if you get creases just pull back, heat the film, and reapply. Used the light smoke film, heat gun, and a felt squeegee (not the one that was included)
Patrick J Dougherty
Great overall product 100% recommend
Works just like a wrap does, super easy to work with the the exception of if it’s cold the wrap will want to crack when working with the material so be sure to work in warm environments. Overall super happy with the outcome. But one thing bad to say is that the kit didn’t come with enough wrap to do all the car. But my car has lots of lights and a couple of reflectors, was able to do the tail lights center brake light both rear reflectors and front dogs light and mirror signal lights did not have enough for headlights. Just ordered another roll to finish. Not bad for $13 tho.
Wendy Gali
Amazing!!
Perfect! I had paid $30 for some pre-cut tint for my VW Jetta, and it was super difficult to get it to work. I eventually learned how to make it work, but had already ordered this tiny Incase I messed any headlights up. And I did. So I busted this out and immediately noticed a difference. It was so much easier to work with and if you accidentally put a crease in it, you could easily use the heat gun to smooth it out. The other tint I had, if you put a crease in it you were doomed and there was no way to get rid of it unless you removed the whole tint and started over again. I ended up redoing 2 of my lights with this tint because I felt like the quality was better.
Thomas Kitchens
5 Star Product. User error is most common issue with any Vinyl.
I watched MANY videos before doing this. My headlights are not easy for a beginner so they didn't turn out perfect, but there is a learning curve so be ready to get frustrated a bit. All in all the product is nice but I ordered Matte Black instead of Smoke Black and it is too dark. I had to pull it off but I will replace it with the Vvivid Smoke Black.
Rob Sinclair
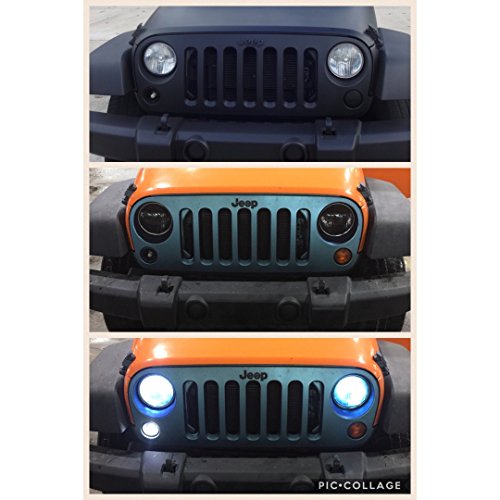
Back in Black
Rahman Baba
Amazing for my 2018 Wrx!!!
The shine of this tint is near glossy. So nice! I will say though, the pictures are deceiving. I was hoping this was a bit darker. It’s probably somewhere around a 35-45% tint. So, not very dark at all. I will say though, the color of this tint is TRULY grey. I love it. A few days prior, I bought the premium Auto style tint for my headlights, tailights, and front lower turn signals...and that film was hazy satin/matte, and is was a yellowish brown hue of dark grey/black. It was disgusting. Instead, I was turned onto this vvivid tint by a youtuber, and am so very happy with the quality of this product. The color is great, I was able to do this dry with zero bubble! My fiancé was my helping hand, and I owe it to her for keeping this bubble free by pulling on the two corners as I slowly worked my way around every nook and cranny. It took to heat well. Don’t get too close, or stay in one area to long to avoid burning a hole through. I was able to order 2 kits of this, and was able to get enough to tint my headlights, tailights, and lower turn signals in the front. I was amazed at how shiny these sheened once I finished and stepped back to look. I am so happy. Suggestion, make this medium smoke tint just a tad bit darker. Maybe like 25-30%. Just slightly darker than the percent that it comes now, but obviously lighter than the dark tint kit you sell. Regardless, I’m amazed at the easy of use to apply, and the quality and shine of the finished product!!
Dhonna Ricohermozo Rodriguez
Good quality and fast shipping
The nay-sayers on this product are probably not experienced or properly installing it. You MUST apply on a clean surface with a heat gun. I installed this product on sidemarker lights with no issues and I have used many brands of tint. Good product for the price. Note: the product I received did not have clear protective plastic on top side to protect while installing---not an issue if you use the felt provided....
Angelita Nipales
Best quality headlight tint !
Very high quality headlight tint/film. Has little air channel release which works flawlessly! Helps remove air bubbles with ease! Vvivid has amazing quality film! I recommend professional install. If this your first time, it might not go very well. Not to dark and just about the right amount of tint! Easy to clean! Just used it to protect my headlight lens!
Cornelius Martin
HEAT & PATIENCE IS YOUR FRIEND
Some of these reviews made me laugh as I was reading them. This was my first time tinting my tail lights or just tinting in general. I knew what I was getting myself into and I knew that it wasn’t going to come out perfect since it was my first time tinting. The first tail light I did took me well over 20 minutes with a friends help,but trust me HEAT IS YOUR FRIEND in this one. There’s is nothing wrong at all with this product, you will only come across USER ERROR. The product itself is perfectly fine and does what it’s suppose to do. Yes my first taillight didn’t come out perfect, I was at the edge of ripping off the tint and calling it a night. I gave myself a break and continued onto the second tail light and to my surprise it only took me 5 MINS! I didn’t even use the squeegee for the second taillight. Just a heat gun and my finger. I will be redoing my first tail light since I got the hang of it. If you find using the squeegee helps I’d recommend spraying water over the tint so that your squeegee glides smoothly over the tint leaving no scuffs or marks, or just placing a microfiber cloth over the squeegee. Patience, practice & heat will be the key in this project. I’d also recommend watching many YouTube tutorials, good luck! Will post a picture of my finished product when I can.