


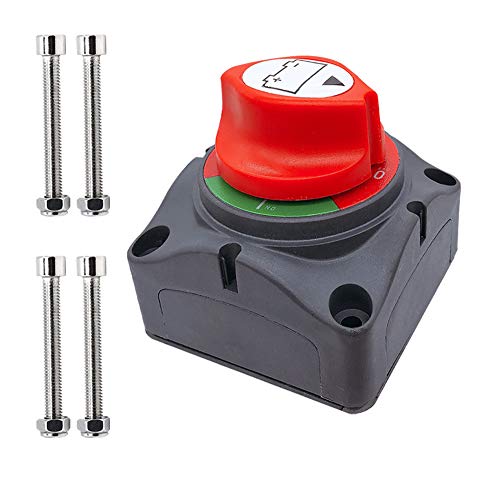
- Heavy Duty: ABS plastic housing, durable made for safety use, rear cover insulates terminals against any short of circuits, equiped with 4 sets of bolts.
- Operation: On/Off 2 positions, 275 A continuous at DC 12V, 455 A intermittent at DC 12V, 1250 A momentary at DC 12V.
- Compatible: used for DC 12 - 48 V systems to isolate and secure the electrical system, can stand alone or be locked together with other switch.
- Purpose: eliminate any power draw from the battery when vehicle or boat is not in use, disconnects the battery safely.
- Copper terminal stud size: 3/8" (10 mm) x 2, very easy to install, universal used for car, vehicle, Rv and boat, also electrical equipment's switch.
-
Information
-
Twitter
-
Pinterest
-
Youtube
-
Facebook
Andrea Hatcher
Great switch so far - recommended.
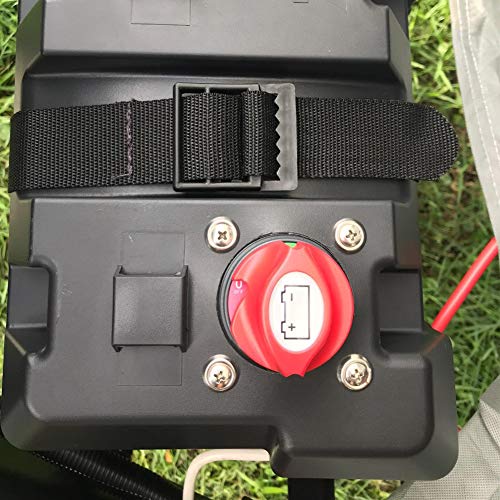
Installed on new camper to make it easier to kill the power and avoid draining the battery when not in use. Picked up a swt of 5 AWG Gauge 2ft Battery Power Inverter Cables. Only used the red one, obviously, but worked perfectly. Installed on positive side between battery and camper power line. I left the solar and trailer hookup leads connected to battery so the battery will charge even if power for camper is switched off. The switch is mounted on the side of the battery box so no holes in camper and very easy to get at (see picture). Also put a small piece of wood inside the battery box between the battery itself and side where the switch is mounted to protect the battery casing from the ends of the mounting screws. So far working perfectly.
Carolyn Gillish
Easy install
Purchased to disconnect battery from camper when not using to preserve battery life. Mounted on side of battery holder by buying an additional cable. Provides easy access to connecting and disconnecting battery. Easy to switch and see connection position.
Pierre Francois Du Plessis
On / Off. Yup.
Works, easy to install, and has a solid click between states. My one complaint is that isn't not made for surface mounting... in fact, I'm not sure how anyone is supposed to mount it to anything. The hardware included screws the back plate onto the switch, but the screws protrude from the back, making velcro on the back not an option. I ended up replacing the screws it came with with some long wood screws that went through the switch, back plate, and into the wood base I use for my RV's electrical components.
Jade Jones
I highly recommend this switch!
I have tried a few battery disconnect switches and none of them worked as I needed it to, until this one! This was extremely easy to install and the switch from "on" and "off" is solid. This switch is solid, durable and switches smoothly and effectively. I highly recommend this switch.
Ana Ruiz
This product arrived as described and works well.
I used it as a battery shut-off switch on my collectible car. My car alarm drains my battery when not in use for long periods of time. I fastened it to my battery box and ordered separate battery connector cables to complete the install. Hopefully, this fixed the problem and I won't have to use the battery charger/maintainer as often.
Su San
No more dead batteries in Travel Trailer
Easy solution to keep our Travel Trailer batteries from getting discharged while in storage. We just drilled 4 holes and mounted it to the top of one of the battery storage boxes and routed the cables thru the molded openings. We purchased an extra 10” cable from local auto parts store. We watched a few YouTube videos before deciding that this model fit our needs best. Easy install. Works great.
Amy Jenkins
Does the job
I used this switch on my pontoon boat to disconnect the battery from everything on the boat so the battery would not be drained unexpectedly. I installed the switch atop the battery box lid and ran the negative cables from the equipment to one side of the switch and the cable to the negative pole on the battery to the other side of the switch. simple installation to address my issue.
Bar Milano
Easy to use and works.
Simple to install for my application and works as advertized. Design allows good looking installation without the need for a box or other enclosure for attachment. Provides it's own small enclosure or can be left open on any or all sides. I have a fairly simple trailer and installed it open on the bottom only to provide some weather protection and cable access from below. It stopped the parasite drain from our radio that turns on to standby without permission!
Nabila Sherin
Easy to install
Easy to install and it works great. I have been struggling with my riding lawn mower discharging the battery between uses. This makes for a clean installation and easily solves a problem the service department gave up on. The installation was made even easier by ordering the extra battery cable to help make the circuit.
Alecia Rakes
Eliminate pesky power vampires with this sturdy switch.
You can spend hours or lots of money trying to find every power vampire in your RV. I spent two seasons with my battery always being completely dead when I came back to my RV despite all my attempts to get them all shut off. Then after the second season, my battery would no longer take a charge. My RV dealer suggested a cutoff switch and after some investigation, I went with this one. There are other cheaper and simpler options out there but I wanted something convenient, safe, and durable. This switch really fits the bill nicely. It's very well made and uses high-grade plastics. The switch has a very solid feel, it's easy to know if you are switch on or off. First, there aren't any instructions with this switch, they're mostly here on this page. What you will need to install it is an extra battery cable. There is no polarity with this switch but the manufacturer does suggest installing this switch on the ground (negative) side of the battery as it is safer. This makes sense as any owner's manual or mechanic will tell you to hook up positive first and then negative when installing a battery. When removing one you remove the negative first and then positive, that's in effect what you're doing when you install this switch on the negative side. It took a while but I managed to find a black, 2 gauge battery cable that worked for me: https://amzn.to/2VGcEJg. This switch requires a 3/8" lug and if you are installing this on an RV or boat your battery probably requires a 3/8" lug as well. Keep this in mind as there are also cables with 5/16" lugs (used with motorcycles and other smaller vehicles), either on both or one end. 18" of length was the perfect size for me as it allowed enough slack to go around the box lid easily. The kit comes with four hex head bolts, nuts, and a bottom cover. What's not clearly shown is each of the four side panels is removable so you can pick the best one to remove for your application. Using some trial and error I figured out the proper drill bit size to drill my holes for mounting. I opted to install this switch on the top of my battery box. I started by placing the bare switch (bottom plate removed) on the lid and marking each hole to drill. With what I believe ended up being a 5/16" drill bit I drilled each hole. I then removed the panel opposite the "on" indicator as I wanted the "on" side in front and the cables out the back. I hooked up my extra cable and headed out to the RV. I then made sure the switch was set to "off" and hooked it up to my RVs ground (negative) cable. In the case of my RV this cable is white and you can clearly see it attached to the frame to ground it. With all that done and making sure my switch is still set to "off", I attached the other end of my extra cable to the battery's negative terminal. With the switch off you won't see any sparks when you do this. At this point, I replaced the bottom cover to have some extra weatherproofing as the bolts easily extend well beyond it. I tightened down the bolts to the lid using the standard hex "star" bit that came with my drill/driver set and holding the nut inside the lid with a ratchet. With that done you're ready to re-attach your lid to your battery box and give it a try. Some photos from the manufacturer show a way of installing the switch INSIDE your battery box. There's no template provided for this so you would have to figure out the size of the hole to make for the switch. This probably is more weatherproof and while I do have a Rotozip (you could also use a hole saw drill bit if you figure out the right size) I wasn't sure I had enough room with my battery and thought this was overkill. You could also attach this to the side of the top of the lid with the cables coming out the bottom. With this method though I figured water would be more likely to get in being kicked up from the road or off my truck's tires. So I decided on top with the cables coming out the back was the best option. You could probably use silicone to seal it if you wanted to, I may do that, but that's probably overkill as well. IN USE In use this switch is simple, turn the switch on and there's power to your RV, you also need it on to charge your battery if your RV is hooked up to power or your tow vehicle. I flip it on when I come back to my RV. Once you are going to put your RV in short or long-term storage, switch it off and your days of searching for power vampires or coming back to a dead battery are over. Hopefully, my new battery will last more than two seasons now.